
A return can be launched by either scanning the barcode on the receipt on which the item to be returned is located, or by using the menu in the upper left corner.
If the barcode is scanned on a receipt, follow steps 5-13.
The return is started in POS by following the steps below:
- Go to the menu in the upper left corner.
- Choose ‘Sales’ and afterwards ‘Show Previous sals’
An overview of all previous sales will appear. - Tap on the sale from which you wish to return one or more items.
- Press ‘Return’.
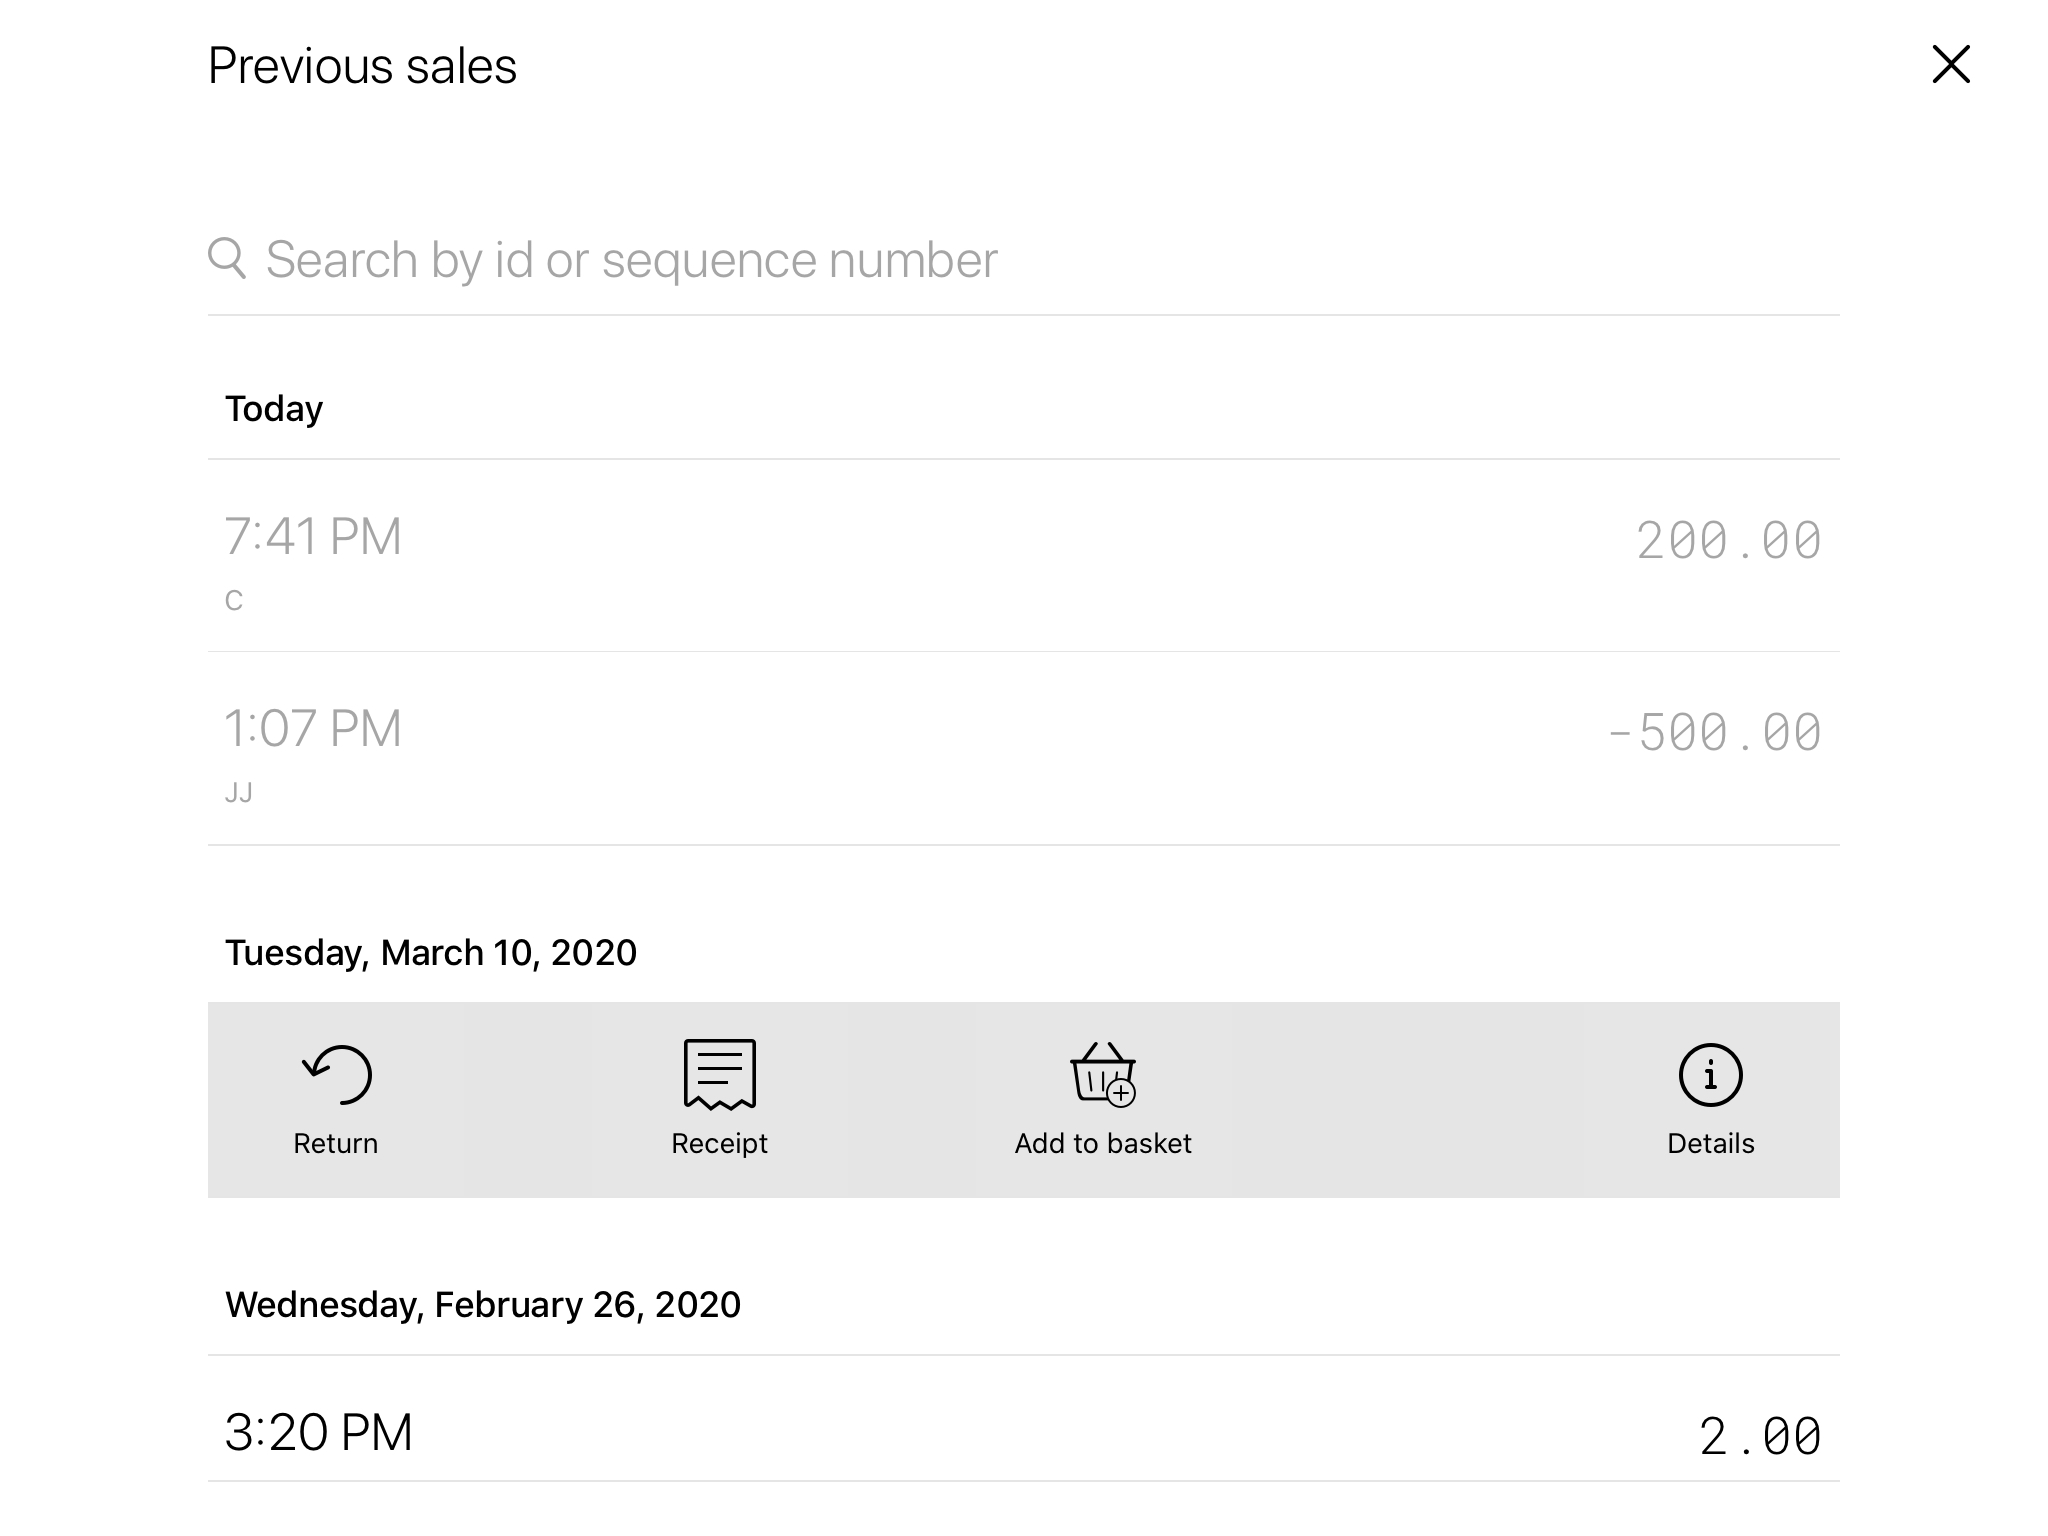
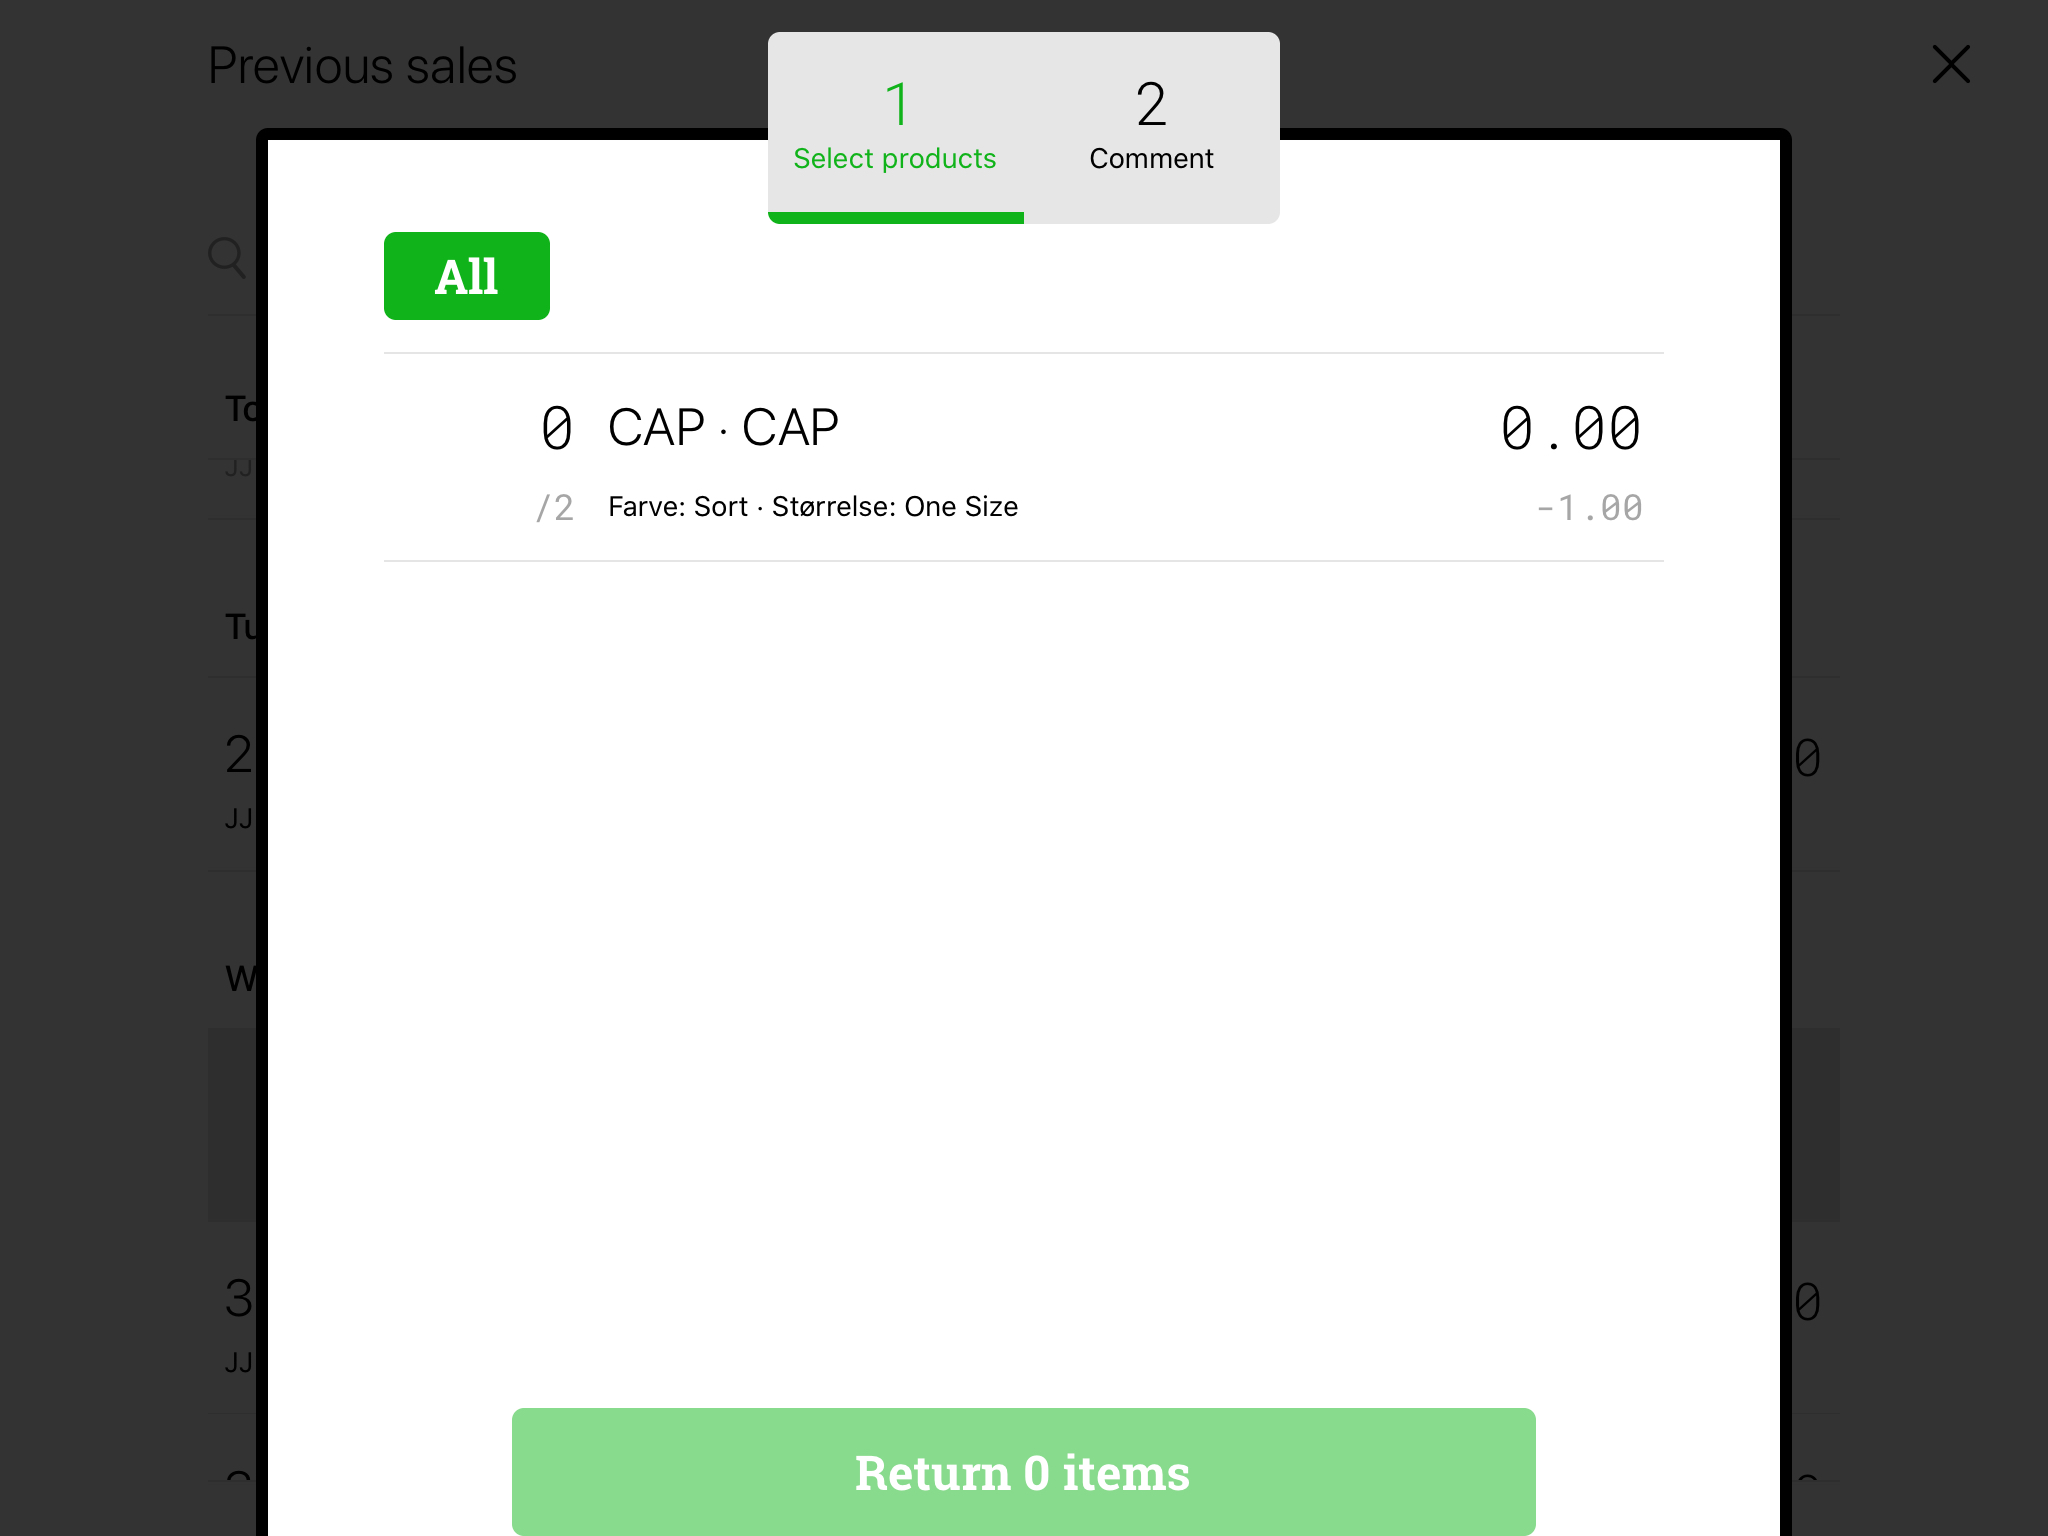
- Choose the products for return.
If all products are to be returned, it is possible to mark ‘All’.
It’s possible to enter a number returned of each product by clicking on the 0 beside each product. Click ‘Apply’ to save.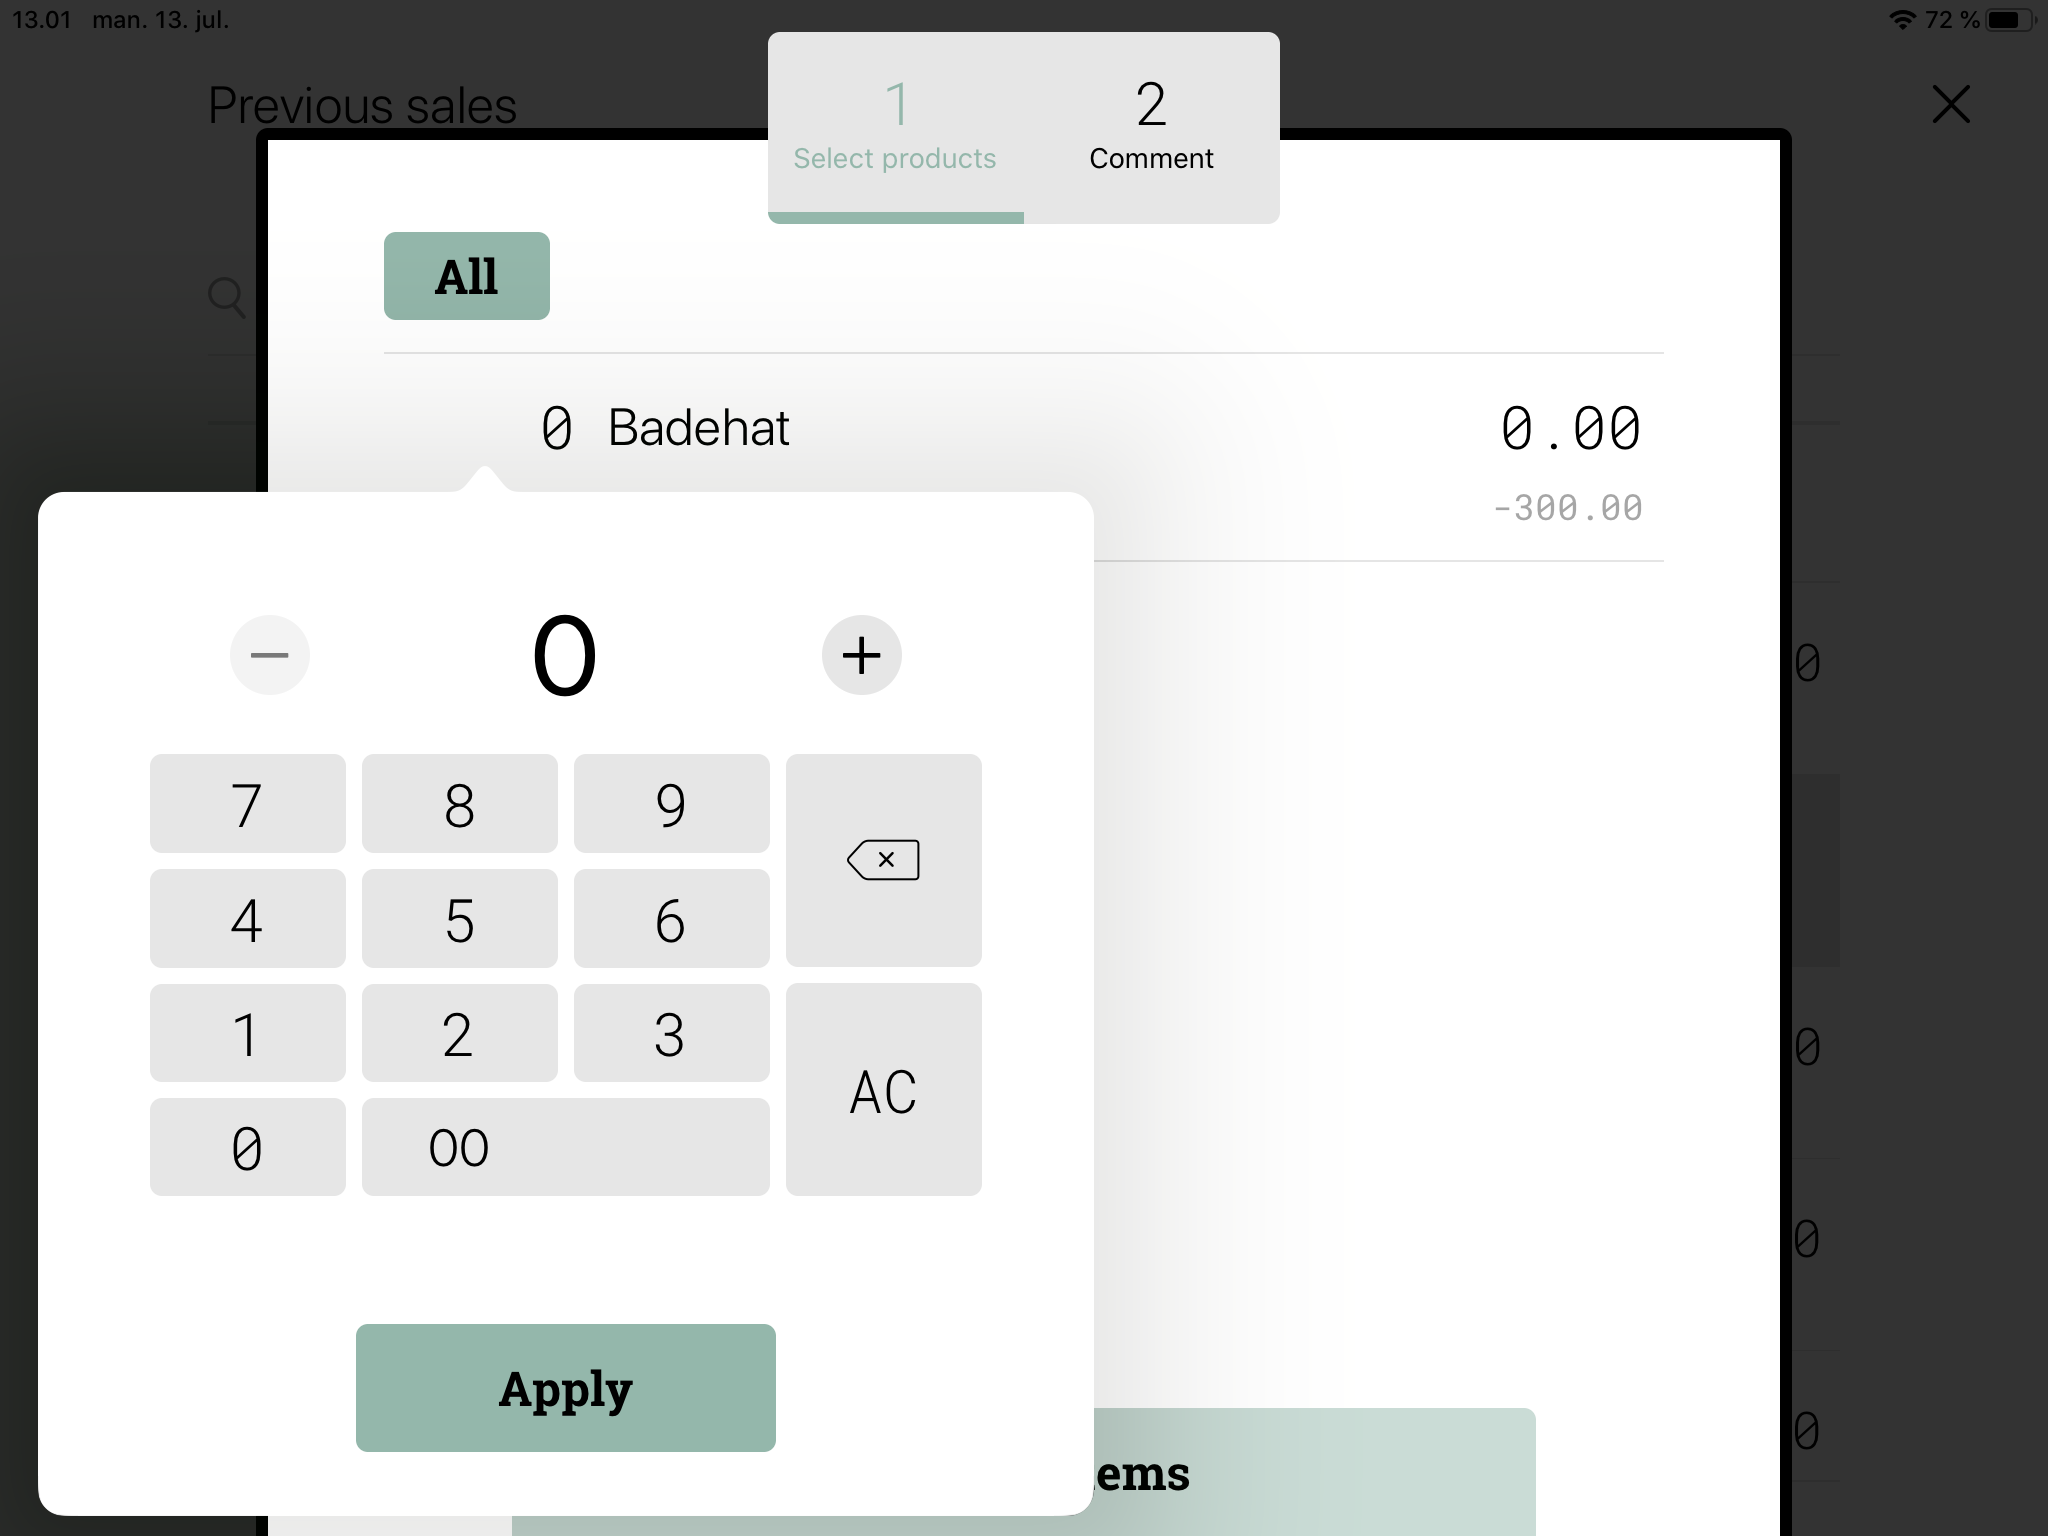
- Press ‘Return x items’.
- Enter a comment for the return and press ‘Apply’.
NB. A comment is not a requirement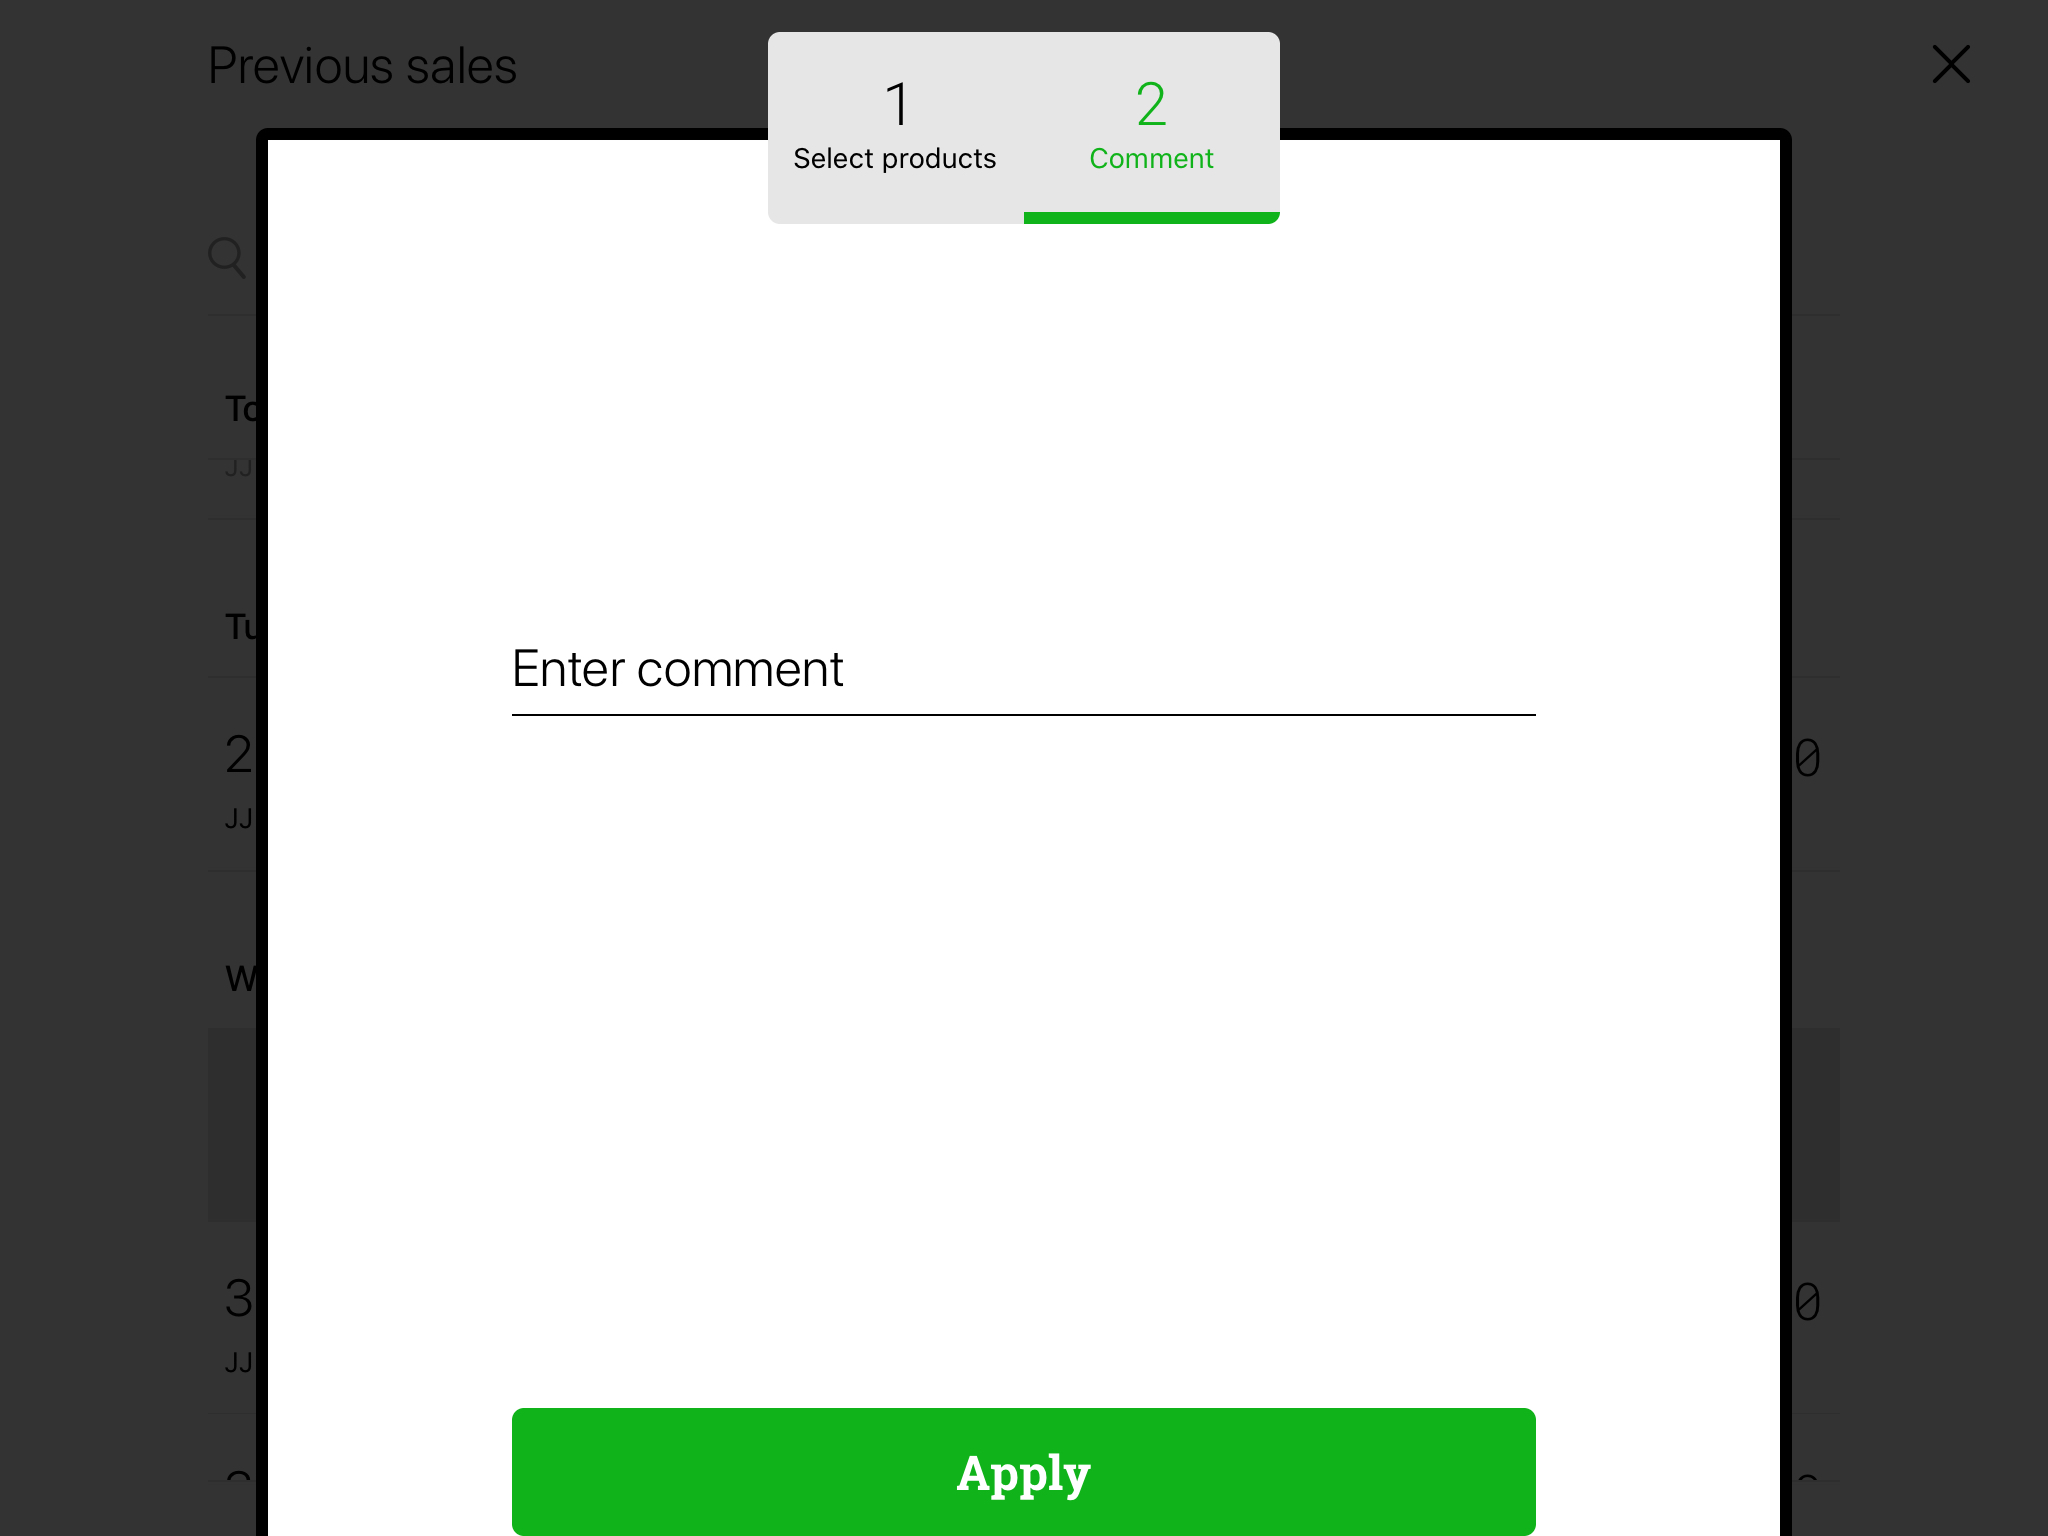
The pop-up window will then close and the return items are added to the basket.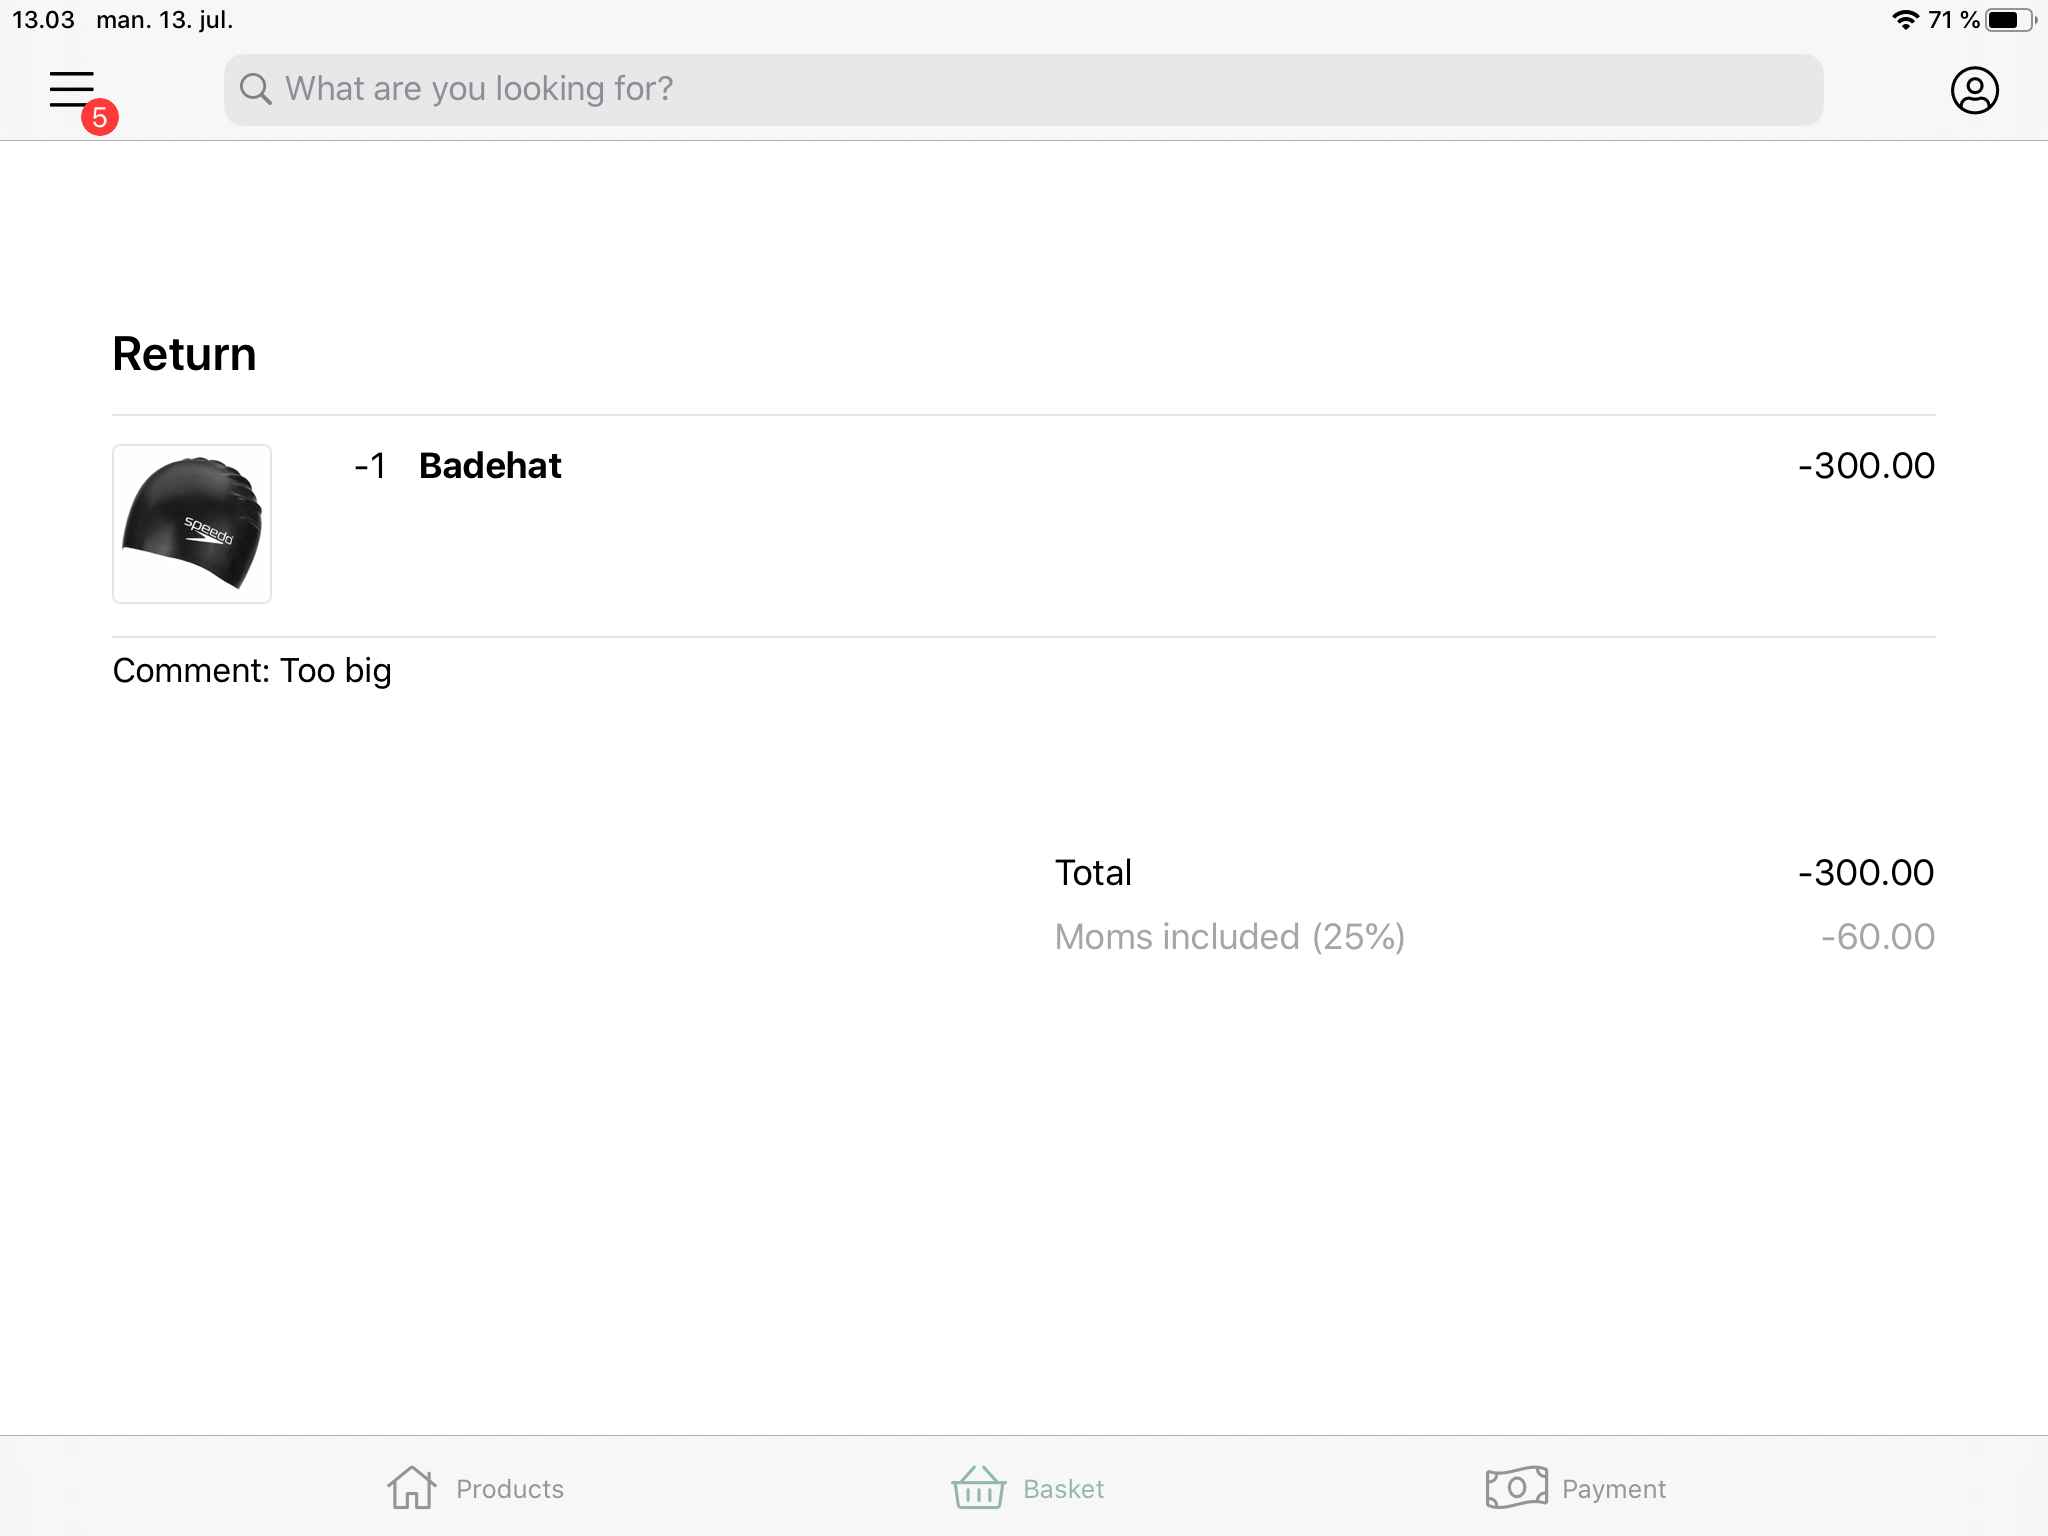
It is possible to complete both a return and a sale in the same transaction. If products are added to a basket already containing return items, the basket will be divided in ‘Shop basket' and ‘Return’.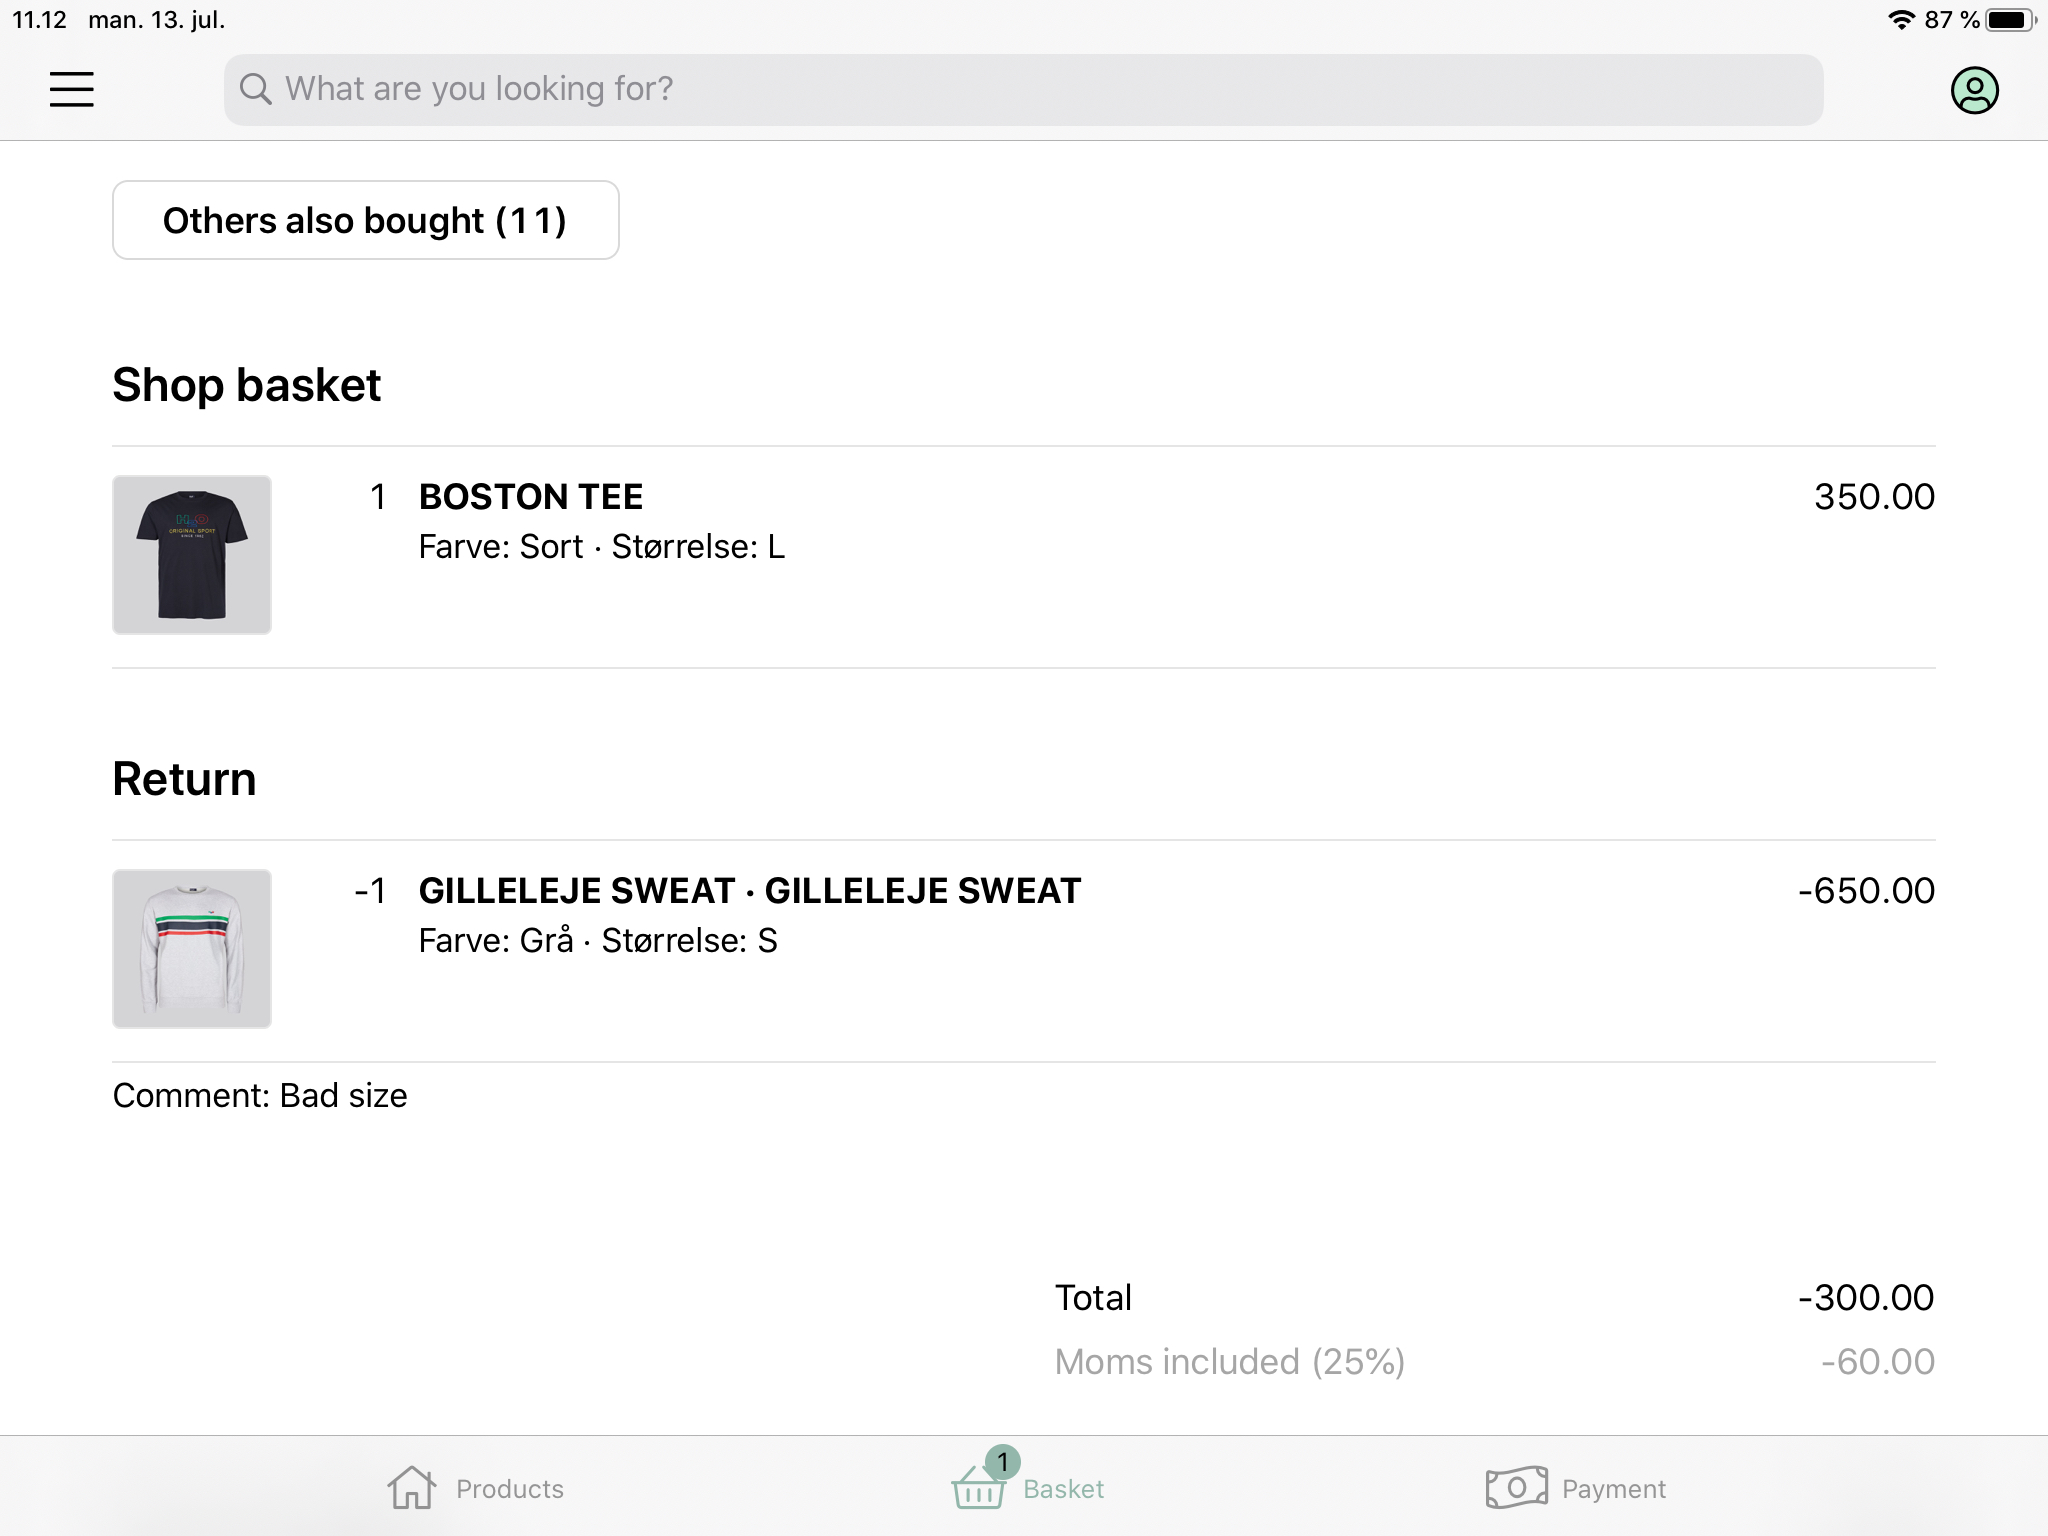
- To complete a return, swipe left from the basket and the checkout will appear.
- Choose the method of payment and press ‘Return’.
- Choose ‘Print’ to print the receipt.
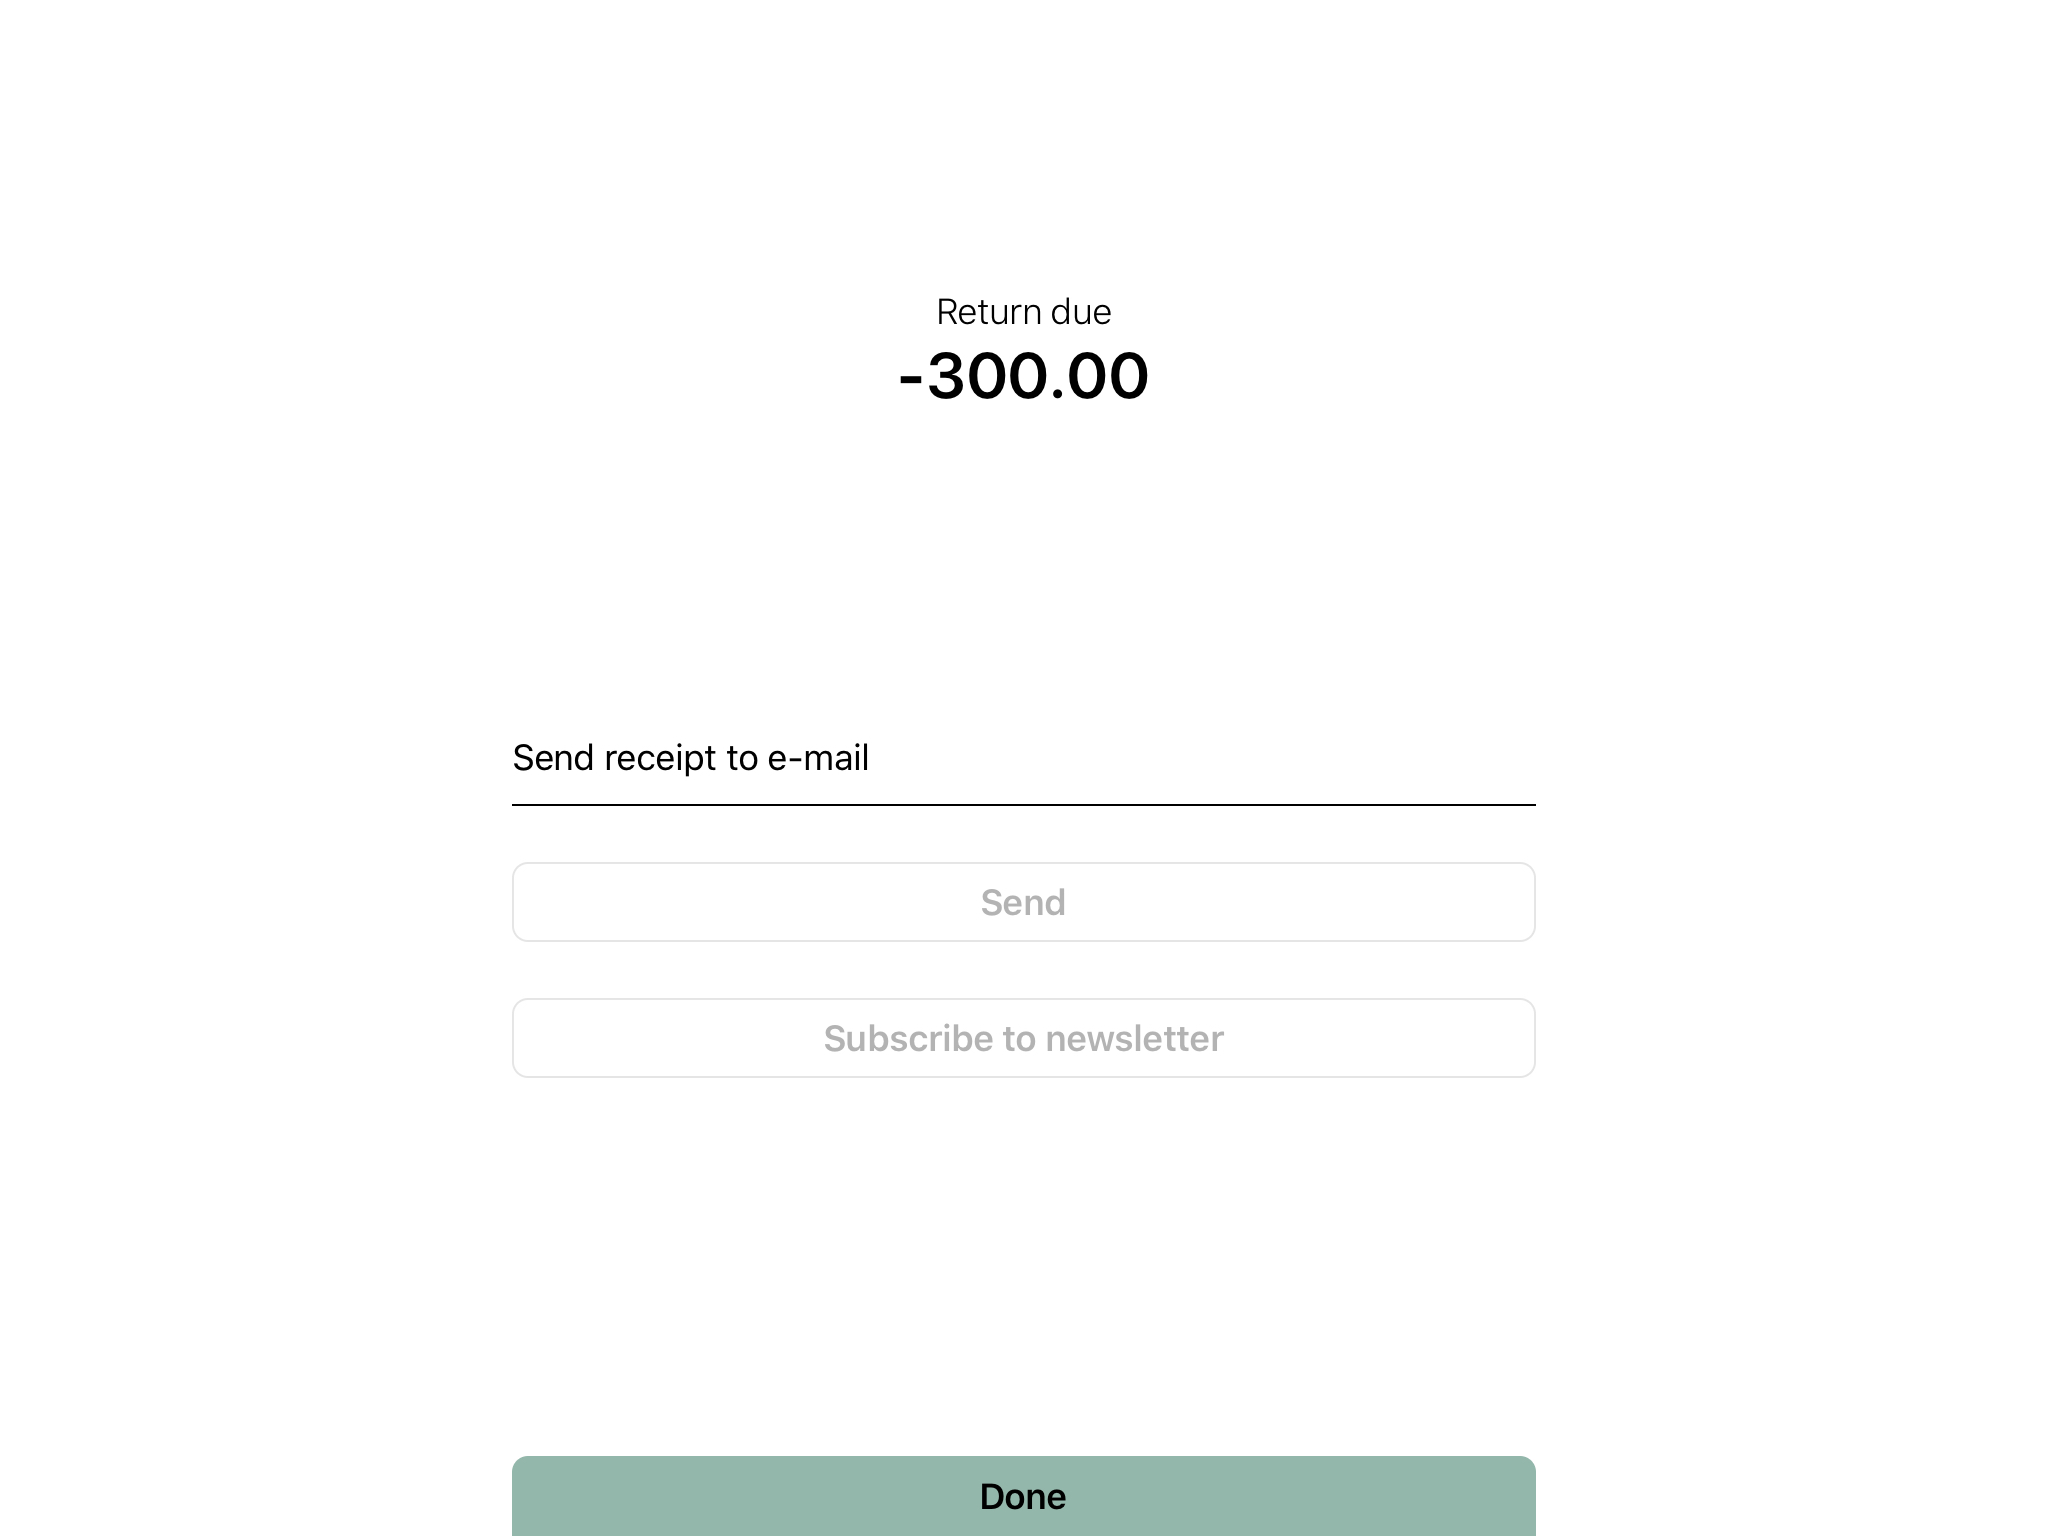
NB! In order to print the receipt, a printer must be connected. See ‘Printers’ for a guide on how to set up printers. - Enter the customer’s email and press ‘Send’ in order to send the receipt to the customer.
- If the customer wants to sign up for your newsletter, enter their email and press ‘Subscribe to Newsletter’.
- Press ‘Done’ to complete the transaction.
If the return has to be discontinued, just press outside the pop-up window.
Comments
0 comments
Please sign in to leave a comment.